-
How Solid Polycarbonate Sheets Can Benefit Your Projects
September 25 2024 -
-
-

Cleaning Solid Polycarbonate Sheets
February 05 2024 -
PVC Cladding Installation Guide
November 01 2023 -
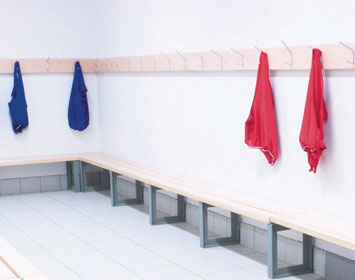
PLEXIGLAS® - Building a Balcony Privacy Screen
October 31 2023 -

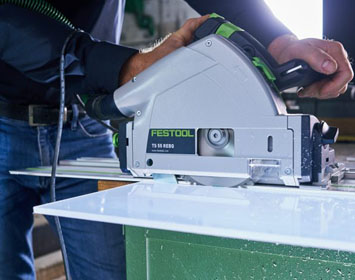
Cutting PLEXIGLAS sheets
October 13 2023 -
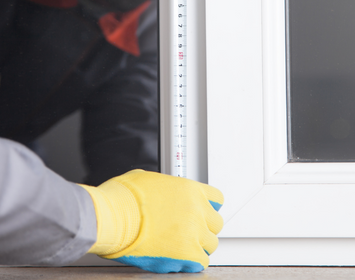
Installing Secondary Glazing
September 22 2022 -
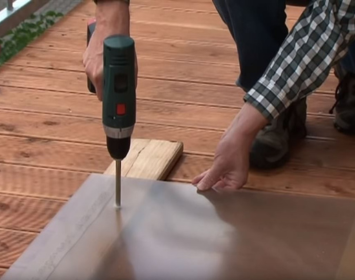
Cutting Polycarbonate Sheets
February 23 2021 -

MarPETg FS flat sheet
February 02 2021

Installing PLEXIGLAS® solid sheets
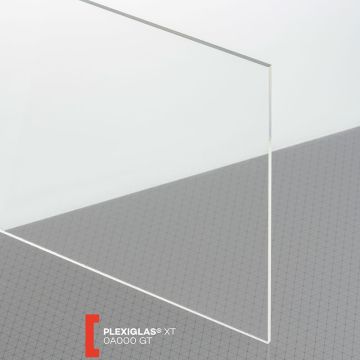
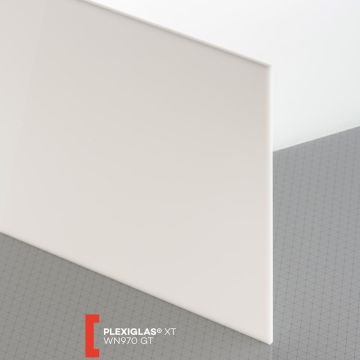
About Acrylic/Perspex/ Plexiglas
Glass is known for its weight and fragility. PLEXIGLAS®, on the other hand, is a whole lot tougher. It is lightweight, safe to handle and easy to fabricate. You can find information on the properties and applications of our products in our various publications, including the information brochure on our How To Acrylic/Perspex/Plexiglas page.
Easy to fabricate
PLEXIGLAS® is just as easy to fabricate as wood. Partitions, balcony guards or door infill panels can be designed according to individual wishes.
30-year guarantee against yellowing
PLEXIGLAS® always puts you on the safe side. We give a 30-year guarantee that clear-transparent PLEXIGLAS® will not yellow and will retain its high light transmission.
Lightweight but strong
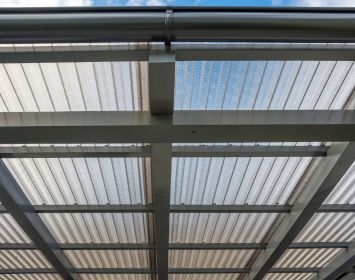
Even the heaviest sheet in our roofing range weighs less than 6 kg per square meter. That saves effort during installation and reduces the required number of helpers.
Safety and protection against UV light
Sunburn is a thing of the past with selected grades of PLEXIGLAS® multi-skin and corrugated sheets, which absorb UV light. That has been confirmed by the Hohensteiner Institute in line with the stringent Australian standard AS/NZS 4399:1996.
Instructions for Installing PLEXIGLAS® solid sheets
Planning
Careful planning and choosing the right tools, combined with correct storage and fabrication of PLEXIGLAS®, guarantees that you will be satisfied with the overall structure for a long time to come.
Tools/auxiliary agents
The following tools/auxiliary agents are required for in-stalling PLEXIGLAS® solid sheets, depending on the type of project.
- - Waterproof marker
- - Medium to fine machine file
- - Scraper
- - Spray bottle
- - Step drill
- - Conical drill
- - Countersink
- - Metal drill with correct grinding for acrylic (point angle 60 ° to 90 °)
- - Contour cutter with stop ring
- - Jigsaw blade with straight teeth and tooth pitch of 2.5 mm
- - Circular saw blade with straight teeth (ideally trapezoidal flat teeth) and tooth pitch of approx. 13 mm
Storage
If PLEXIGLAS® solid sheets are not to be installed straight away, they should be stored correctly until used. If possible, please store the sheets indoors. The PLEXIGLAS® solid sheets are protected against soiling and moisture during transport by PE sheeting. Please leave this sheeting in place if the sheets are stored outdoors. The same applies to opened palettes.
Installation
Whichever systems are chosen, take care to use only clamping bars, seals and other auxiliary agents and installation materials that are compatible with PLEXIGLAS®. This excludes plasticized PVC, paint solvents, degreasing agents and other corrosive media. In case of doubt, or to obtain information on the compatibility and function of different glazing systems, please contact 365Plastics.
Preference should always be given to linear fastening because this offers better load distribution and makes it possible to use thinner sheets.
PLEXIGLAS® is sensitive to certain sealing materials. Seals should therefore always be examined for their compatibility with PLEXIGLAS®.
The following are usually suitable:
• APTK (EPDM)
• Polychloroprene
• PE, PTFE, TPE and silicone rubber
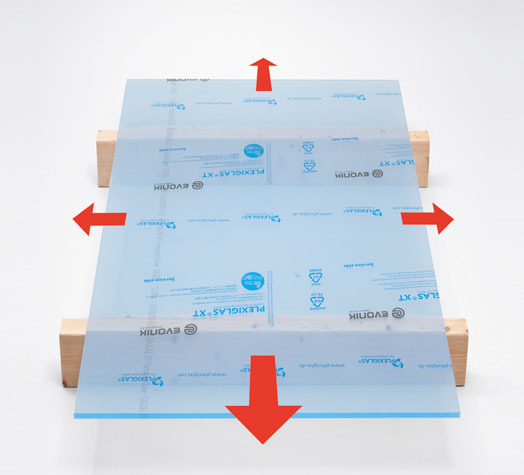
Allowance for expansion
PLEXIGLAS® solid sheets expand due to heat and moisture. A general allowance is therefore to be made of approx. 6 mm/m of sheet length and width. The required
gap between sheet and wall to make this allowance can be bridged for example by means of suitable wall connecting systems.
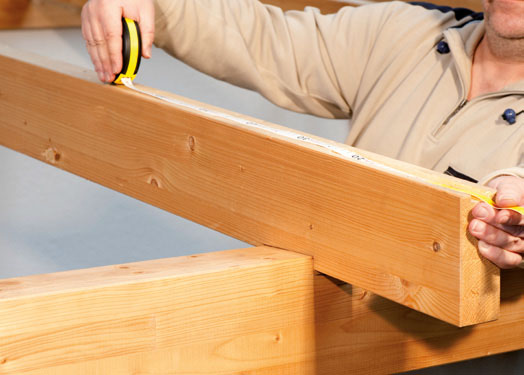
Length of the glazing bar
The glazing bar must be at least the same length as the purlin. The leg length of the Aluminium Terminal Angle is usually added to the length of the purlin or glazing bar. This angle prevents the sheet from slipping.
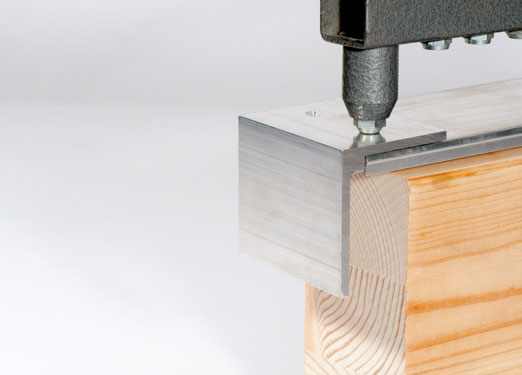
Fastening the terminal angle
The Aluminium Terminal Angle is fastened by means of rivets or screws before installing the glazing bar.

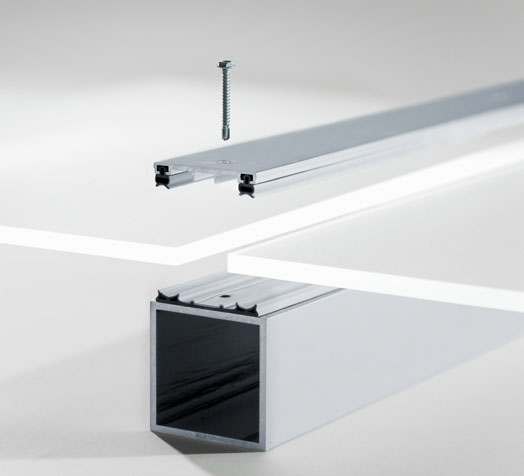
Installing the glazing bars
The upper sections of the profiles should be fastened to the wooden or metal purlins by means of screws spaced approx. 330 mm apart. Suitable PVC edge sections or special base edge sections or aluminium sections are used to close off the roof at the sides. The upper sections of the glazing bars are fastened by means of suitable screws with washer.
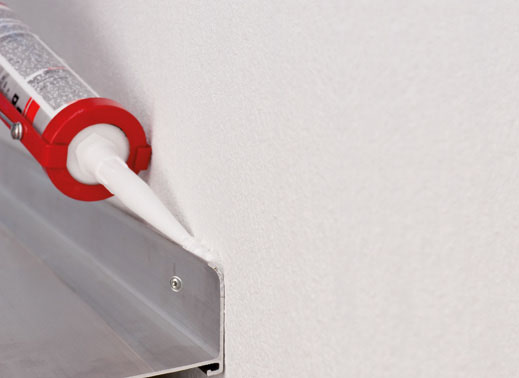
Suitable screw-on wall connecting systems are available for roofs that touch the walls of the house. The sealing strips of these systems are incised at the points where
they meet the glazing bars. The wall connecting systems can be sealed at the wall using permanently flexible rubber. If butt joints and corners of glazing bars need to be sealed, e.g. using suitable silicone rubber, the latter must be compatible with PLEXIGLAS®. PLEXIGLAS® distributors offer suitable sealing compounds
Contact pressure
This pressure must be calculated in such a way that adequate tightness is achieved while the sheets can still slide in response to linear thermal expansion. If the contact pressure is too high, this may be detrimental to the system. Since the pressure mainly affects the weakest link in the fastening system, the elastic seal becomes excessively compressed.
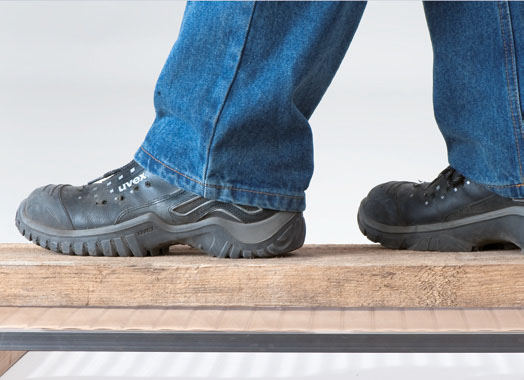
Walking on the roof
It is often unavoidable to walk on the roof when installing the sheets and glazing bars. Roofing with PLEXIGLAS® solid sheets should only be walked over by means of crawling boards that are at least 50 cm wide. These protect the sheet and comply with occupational safety standards. Placing a non-slip blanket or such between the PLEXIGLAS® sheet and the board protects the sheet from scratching
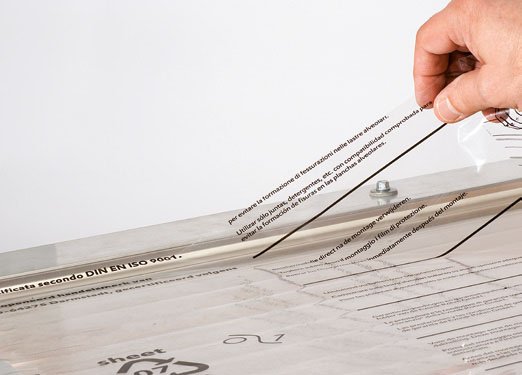
Removing the masking film
The masking film is removed when all the PLEXIGLAS® solid sheets have been installed.
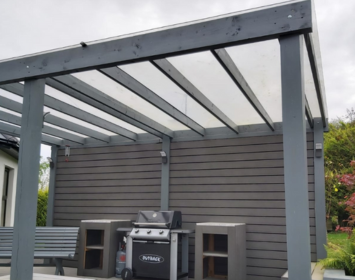
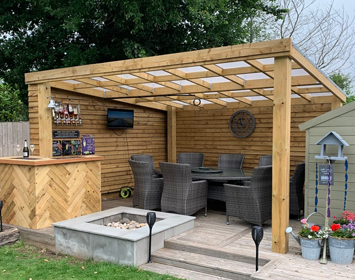
Canopy systems
If a pointwise fastening technique is used, it must be appropriate for the chosen material. This variant looks particularly elegant if the sheet edges are polished. The
drill hole in the sheet must be much larger than the screw thread. Protect the sheet wall inside the drill hole with a compatible sleeve (e.g. polyethylene) around the thread. Use large washers (at least 60 mm in diameter) with the screws and compatible elastic seals (e.g. EPDM rubber). Tighten the screws only to such an extent that the sheets are still able to move.
• The maximum projection of the canopy should be 1,200 mm.
• The spacing between drill hole and sheet edge should be approx. 150 mm.
• Fastening points should be spaced at about 330 mm.
• The roof pitch should be at least 5–10° (= 90–180 mm/m).
• Sheet thickness from 12 mm