
-
How Solid Polycarbonate Sheets Can Benefit Your Projects
September 25 2024 -
-
-

Cleaning Solid Polycarbonate Sheets
February 05 2024 -
PVC Cladding Installation Guide
November 01 2023 -
PLEXIGLAS® - Building a Balcony Privacy Screen
October 31 2023 -

Cutting PLEXIGLAS sheets
October 13 2023 -
Installing Secondary Glazing
September 22 2022 -
Cutting Polycarbonate Sheets
February 23 2021 -

MarPETg FS flat sheet
February 02 2021

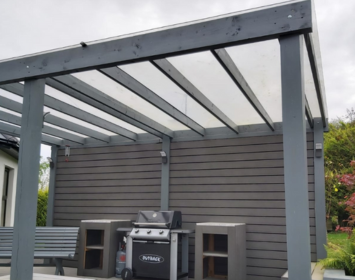
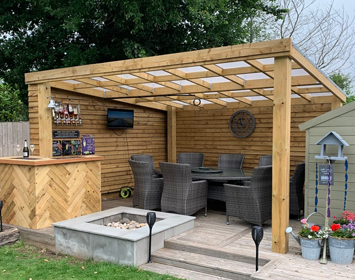
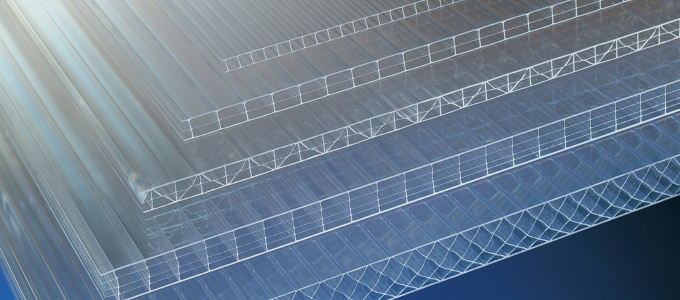
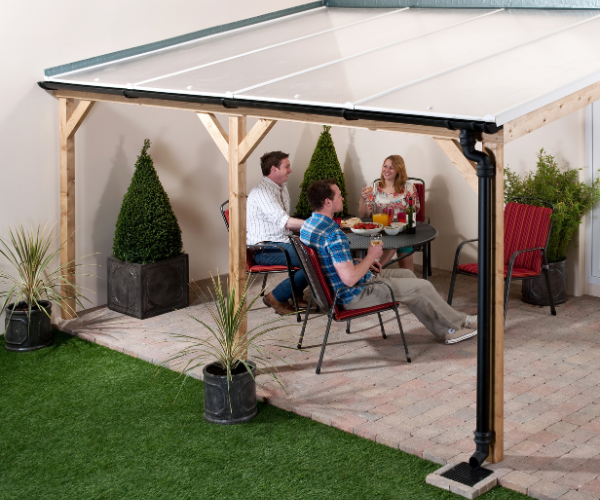
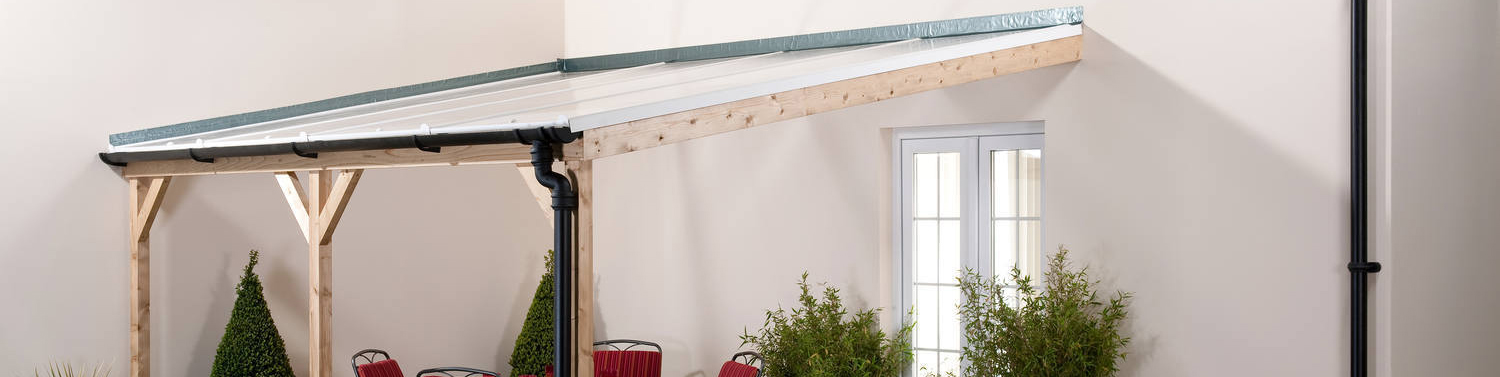
A Step-by-Step Guide to Installing Multiwall Polycarbonate Roofing Sheets
Are you considering a DIY project to enhance your outdoor space with a multiwall polycarbonate roof? Look no further! In this comprehensive guide, we'll walk you through the entire process of installing multiwall polycarbonate roofing sheets, ensuring a successful and durable result for your patio, lean-to, carport, or greenhouse.
Understanding Your Roofing Project
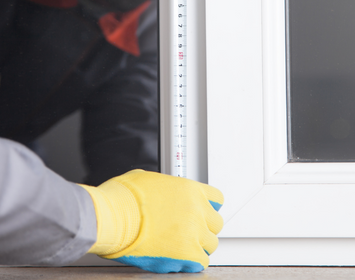
1. Initial Measurements
Start by obtaining initial measurements for your roofing project. Consider the width, length, and desired thickness of the multiwall polycarbonate sheets. These measurements will serve as the foundation for calculating your material needs.
2. Determining Sheet Sizes
When working with multiwall polycarbonate sheets, accurate sizing is crucial. Follow these steps to determine the appropriate sheet sizes:
• Width and Length: Clearly define the width and length of your roof. Confirm these dimensions by standing in front of the structure and clarifying with your supplier or manufacturer.
• Joining Rafters: MultiwallSheets need to join on rafters, so measure the distance between the outer rafters. For the first and last sheets, deduct 5mm from the measured distance. For intermediate sheets, deduct 10mm.
• Consider Project Type: The project type influences the sheet thickness. For canopies, gazebos, or lean-tos, 6mm or 10mm sheets may suffice. For enclosed spaces like conservatories, 16mm or 25mm sheets with higher U-values are recommended.
Estimating Costs for Your Roofing Project
1. Basic Cost Estimation
For an initial cost estimate, approximate sizes are sufficient. However, as your timber structure takes shape, precision becomes crucial. Remember the mantra: "Measure twice, cut once."
2. Accessing Professional Assistance
For precise measurements and guaranteed accuracy, consider suppliers that offer a free cut-to-size service. At Access Plastics, we not only cut sheets to your specifications but also ensure they are free of plastic swarf and sawdust.
3. Material Procurement
After finalizing your checklist, order the required materials from 365plastics.ie. If you need any help, just contact one of our multiwall roofing experts on 01 8010022 or email us at sales@accessplastics.com.
Before You Begin: Essential Preparations
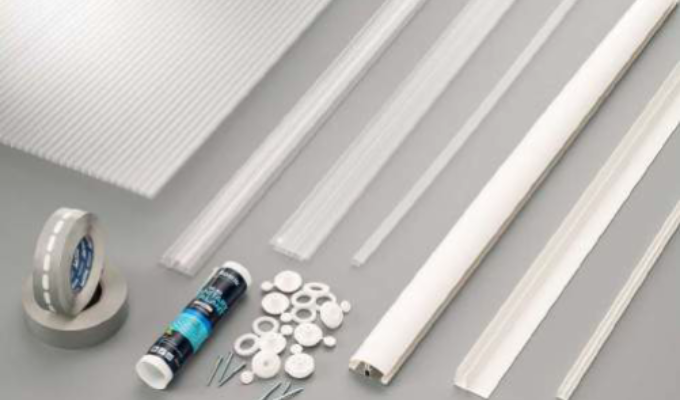
Before you embark on your installation journey, make sure you have all the necessary tools and materials. This checklist will ensure you're fully equipped:
Plan Your Project & Materials
Take the time to carefully plan your project. Consider the dimensions of your structure, the placement of rafters, and the desired sheet thickness. Accurate measurements and thoughtful planning at this stage will save time and effort later on.
-
Measure and Plan: Carefully measure your structure, considering dimensions, rafters, and desired sheet thickness. Accurate measurements during the planning stage will streamline the installation process.
-
Materials Checklist: Create a checklist based on your project's specifics, considering the number of sheets, joining profiles, end caps, fixing buttons, and other accessories required. This step is crucial for accurate material procurement.
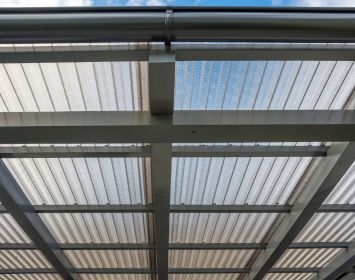
Step-by-Step Multiwall Polycarbonate Installation Guide
Step 1: Glazing Bar Preparation
Install Seals: Lubricate seals and insert them on glazing bars. Avoid stretching to ensure a proper fit.
Pre-Drill Glazing Bars: Follow recommended distances for pre-drilling glazing bars to be fixed to rafters. Stagger holes on alternate sides at approximately 400mm centers.
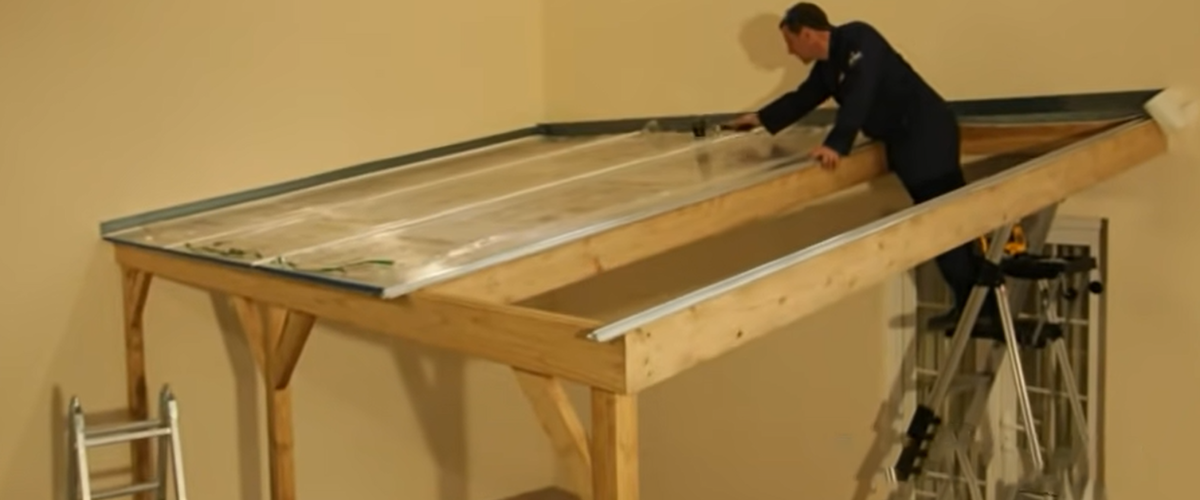
Step 2: Installing on Rafters
- Rafters Pre-Drilling: Depending on the width of the rafter, pre-drill glazing bars accordingly (40mm or 60mm). Follow recommended distances between rafters based on sheet thickness.
- Fixing buttons should be used every 400mm along the intermediate rafters. Our fixing buttons come with screws suitable for wood. If the customer is using steel rafters then they will need to change the crews to steel. This also applies to the capex bars.
- A 10mm gap should be left between the sheets when joining on a rafter using a capex bar. This is to allow for expansion and contraction. If using H section or Snap profile check the dimensions of these and allow 5mm each side for expansion and contraction.
We would recommend the following distance between rafters.
- - 6mm multiwall polycarbonate sheets - distance between rafters, no more than 450mm
- - 8mm multiwall polycarbonate sheets - distance between rafters, no more than 600mm
- - 10mm multiwall polycarbonate sheets - distance between rafters, no more than 700mm
- - 16mm multiwall polycarbonate sheets - distance between rafters, no more than 1050mm
- - 25mm multiwall polycarbonate sheets - distance between rafters, no more than 1250mm
Step 3: Installing on Purlins
- Screw Glazing Bars: Attach the bottom half of the glazing bar to every purlin. Ensure spacing is not greater than 1,500mm. Seal screws with waterproof silicone sealant.
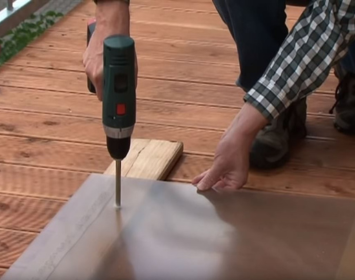
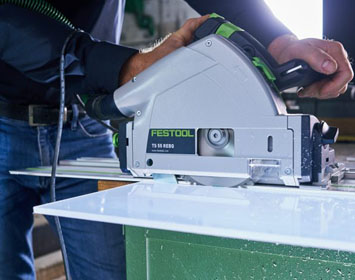
Step 4: Sheet Preparation - Measure and Cut
1. Accurate Measurements: Measure the length and width of the area, allowing for overhang and trimming.
2. Mark and Cut: Use a marker to note measurements on sheets and carefully cut using a jigsaw or circular saw.
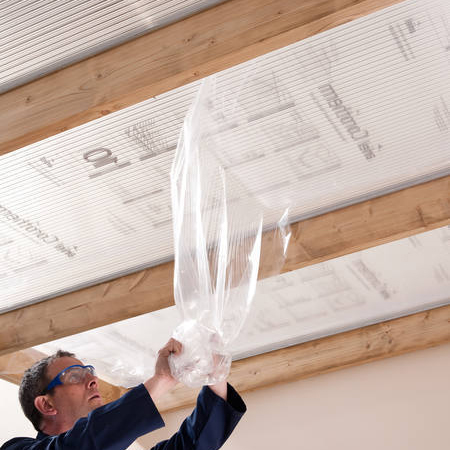
3. Protective Film & Tapes: Peel back the protective film from edges and fix sealing tape at the top and perforated breather tape at the bottom. This is to allow air to circulate within the sheet and avoid condensation and dirt getting inside the flutes. The UV side of the sheet is the one with the writing on it. The cover film should not be removed until they are sure the sheet is correctly fitted in place. If the cover film is already removed and adjustments have to be made then you cannot tell which is the UV side unless they have marked it.
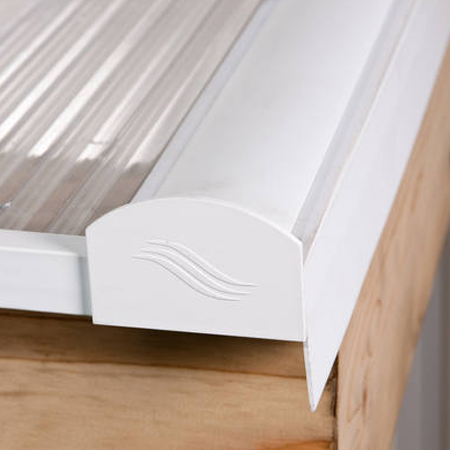
Step 5: Install the End Caps and Side Profiles
Flashing Tape: Begin by applying flashing tape for a watertight seal between the wall and roof.
Cut and Install: Cut polycarbonate end caps and profiles to size. Slide end caps onto sheet edges and attach profiles using roofing screws.
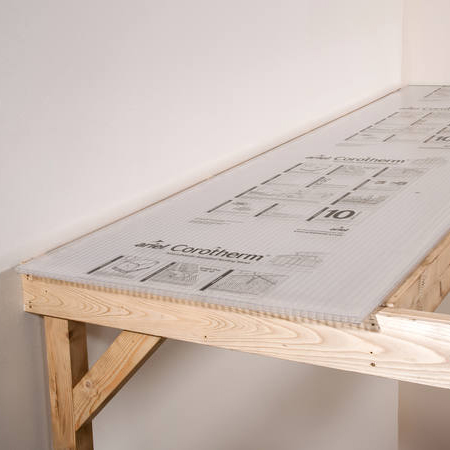
Step 6: Install the Sheets
Position the First Sheet: Starting at one end, position the first sheet onto the end caps and profiles.
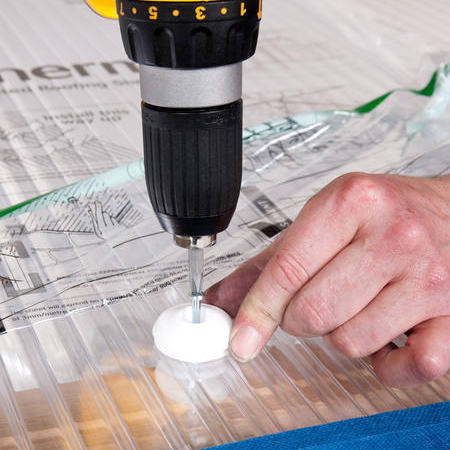
Attach Sheets: Use roofing screws and a screw gun to secure the sheet to end caps and profiles. Ensure each sheet overlaps the previous one by a few inches.
Flute Direction: The flute direction should always run with the fall / slope of the roof and not side to side.
Step 7: Finish the Installation
Trim Edges: Use a jigsaw or circular saw to trim sheet edges to the appropriate size.
Check and Tighten Screws: Ensure all screws are tight and secure.
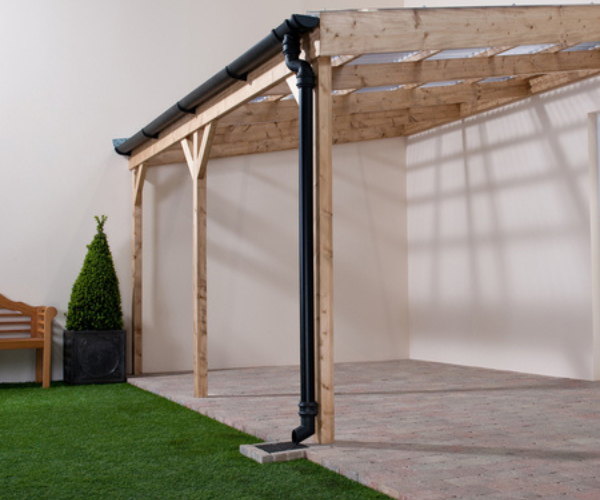
Install Flashing or Trim: Complete the installation with any necessary flashing or trim.
Top Tips for a Successful Installation
Multiwall Polycarbonate Installation Checklist
Ensuring a successful installation of multiwall polycarbonate roofing sheets requires attention to detail and adherence to specific guidelines. Here's a comprehensive checklist to guide you through the process:
Conclusion
By following this step-by-step guide and incorporating our top tips, you're well-equipped to tackle the installation of multiwall polycarbonate roofing sheets. With careful planning, accurate measurements, and attention to detail, you'll create a durable and visually appealing roofing solution for your outdoor space.
Remember, if you ever have questions or need assistance, our team at Access Plastics is just a call or email away. Happy installing!
Get an instant quote for Your Roof
You can now create your own package with our instant multiwall polycarbonate roof calculator. Just select your roof type, enter in your roof dimensions and you will receive an instant quote of all the sheets and accessories you will need to kickstart your roofing project. if you need any help contact us on 01 8010022 or sales@accessplastics.com and we will be happy to help.